Essential RV Winterization Checklist for Cold Weather Readiness
As the leaves transition to vibrant hues and temperatures take a dip, RV owners must get ready to protect their vehicles for the winter. Winterization is not just a safety measure; it is a vital process to defend your RV from the harsh realities of cold weather. This essential RV winterization checklist will help you through the necessary steps to keep your vehicle safe from freezing temperatures, snow, and ice damage.
Understanding the Importance of Winterization
Winterizing your RV is a fundamental part of RV ownership. Neglecting this task can lead to expensive repairs. For instance, if water is left in the plumbing system, it can freeze, leading to cracked pipes that cost anywhere from $100 to $500 to replace. Additionally, unprotected RVs can experience up to 40% more wear and tear due to snow and ice accumulation on the exterior. By adequately preparing your RV for winter, you help maintain its condition and ensure it is ready for the adventures awaiting you come spring.
Supplies You Will Need
Before starting the winterization process, gather all essential supplies. Here’s a comprehensive list of what you'll need:
- RV antifreeze (non-toxic)
- Water pump converter kit
- Cleaning supplies (like soap and a sponge)
- Basic tools (including wrenches and screwdrivers)
- Optional: Air compressor
- Storage containers for personal items
Having everything you require at your fingertips will streamline the process and save you time.
Draining the Water System
The first key step in winterizing your RV involves completely draining the water system. This includes:
- Emptying the Fresh Water Tank: Locate the drain valve and let all water flow out. Always check the tank capacity; a typical freshwater tank can hold up to 100 gallons.
- Draining the Water Heater: Turn off the water heater and allow it to cool down. Once cool, open the drain valve to let the water escape. Remember to remove the anode rod, if your model has one, which can last about two to three years before needing replacement.
- Emptying Gray and Black Water Tanks: These tanks must be emptied and cleaned thoroughly. A properly disposed black water tank can save potential headaches come spring.
- Opening All Faucets: Open all faucets to help dispel any lingering water in the lines.
- Blowing Out the Lines: If available, use an air compressor to blow out lines, ensuring that no water remains to freeze.
Adding Antifreeze to the System
Once the water system is drained, it's time to add RV antifreeze to protect your plumbing from freezing. Follow these steps:
- Bypass the Water Heater: Activate the water heater bypass to prevent antifreeze from entering the tank.
- Use the Water Pump Converter Kit: Attach it to the water pump, placing the other end into the antifreeze container.
- Activate the Water Pump: This draws antifreeze into the system.
- Open Each Faucet Sequentially: Starting with the faucet farthest from the pump, open each until you see pink antifreeze.
- Flush the Toilet: Pour some antifreeze into the toilet bowl to protect its mechanics.
Protecting the Exterior
It's important to shield your RV's exterior from the harsh winter elements. Follow these steps:
- Wash and Wax: Begin by thoroughly cleaning the exterior to eliminate dirt and grime. Follow this with a high-quality wax to protect the paint job.
- Inspect Seals and Caulking: Carefully check all seals and caulking for any signs of damage. Repairing or replacing these can prevent leaks and additional issues later.
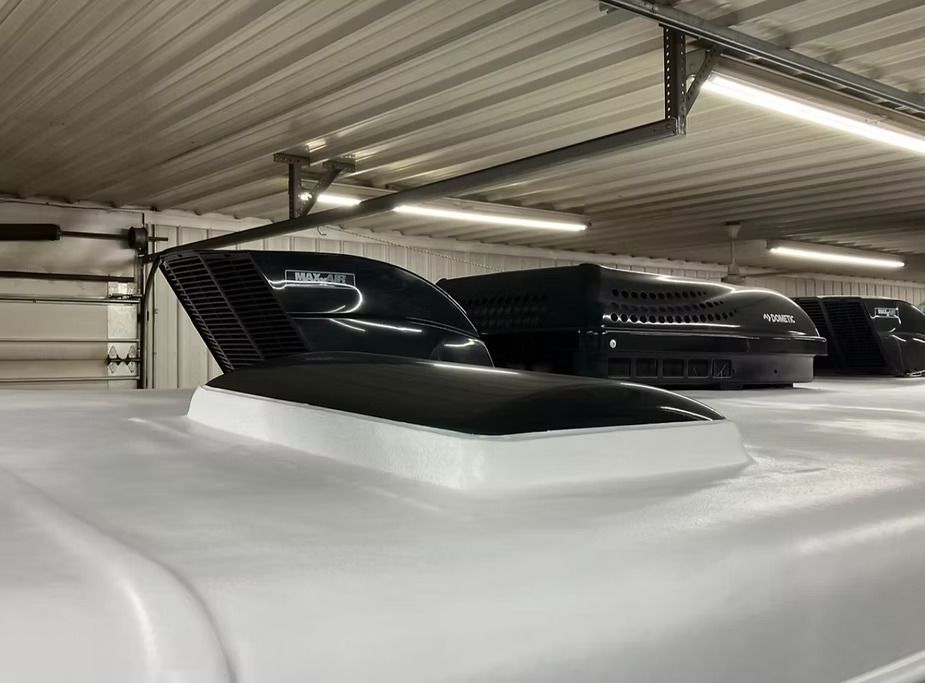
- Seal Vents and Openings: Use vent covers or bags to block any openings from moisture and pests.
- Invest in a Quality RV Cover: If you're storing your RV outside, a high-quality cover can prevent snow and ice from accumulating, extending the lifespan of your investment.

RV Winterized for the season
Getting the Interior Ready
The interior of your RV also needs winterization to ensure it remains in good condition. Here are some effective tips:
- Remove Perishable Items: Clear out any food items that could spoil or freeze.
- Clean Thoroughly: Vacuum and wipe down all surfaces to reduce the risk of mold and mildew.
- Open Cabinet Doors: Keeping cabinet doors open encourages warm air circulation, which helps prevent pipes from freezing.
- Use Moisture Absorbers: These can help keep humidity levels in check, further preventing mold growth.
Taking Care of the Battery
Your RV's battery requires careful handling during winterization. Here’s what you should do:
- Disconnect the Battery: For long-term storage, it's wise to disconnect the battery to prevent drain.
- Charge the Battery: Ensure that it's fully charged before storing.
- Store It Warm: Whenever possible, keep the battery in a warmer location to help prevent freezing.
Performing a Final Review
After completing the steps outlined, take a moment for a final inspection:
- Check Tires: Ensure your tires are properly inflated (ideally to the manufacturer’s recommended psi) and check for signs of wear.
- Secure Doors and Windows: Make sure everything is locked and sealed to keep moisture and pests from entering.
- Document Your Winterization Process: Keeping a record of your completed tasks can be invaluable for future winterization preparations.
Wrapping Up
Winterizing your RV is a necessary task that demands attention. By following this checklist, you can safeguard your investment and ensure your RV is primed for the next adventure when the temperatures rise. Taking a little time now can save you considerable hassle and expense later. So gather your supplies, complete the steps listed above, and enjoy the peace of mind that comes with knowing your RV is fully winter-ready.


